
Sponge painting is an incredibly fun and easy activity that’s perfect for kids. Not only does it provide hours of creative play, but it’s also a fantastic way to encourage fine motor skill development while introducing little ones to the magic of colors, textures, and artistic expression.
Armed with just a few sponges, paint, and paper (or other canvases), your kids can create stunning pieces of art with minimal setup and cleanup.
This blog has curated a collection of 25+ amazing sponge painting craft ideas that are simple, engaging, and perfect for kids of all ages. Whether you’re a parent, teacher, or childcare worker, these ideas will spark imagination and bring plenty of smiles.

CUT YOUR KITCHEN SPONGE INTO A TRIANGLE TO MAKE TREES

CUT YOUR KITCHEN SPONGE INTO A CIRCLE SHAPE TO MAKE SNOWMEN

SPONGE PAINTED MONSTER – ADD HANDPRINT CUTOUTS

CUT YOUR KITCHEN SPONGE INTO A TRIANGLE TO MAKE REINDEER

SPONGE PAINTED SNOWY OWLS ON A BRANCH

CUT YOUR SPONGE INTO A RECTANGLE SHAPE TO MAKE TURKEY FEATHERS

CUT YOUR SPONGE INTO A RECTANGLE SHAPE TO MAKE REINDEER

SPONGE PAINTED FRANKENSTEIN MONSTERS FOR HALLOWEEN

CUT YOUR KITCHEN SPONGE INTO A TRIANGLE TO MAKE REINDEER

CUT YOUR KITCHEN SPONGE INTO A CIRCLE TO MAKE BEARS

SPONGE PAINTED BLACK CAT FOR HALLOWEEN

WASHI TAPE & SPONGE PAINTED SUNSHINE CRAFT

SPONGE PAINTED REINDEER FOR CHRISTMAS – ADD A RED BOW FOR HIS NOSE

USE A SQUARE SHAPED PIECE TO MAKE TURKEYS – USE CODING LABELS FOR THE BODIES

CUT YOUR KITCHEN SPONGE INTO A TRIANGLE TO MAKE REINDEER

SPONGE PAINTED OWL CRAFT IDEA

CUT YOUR KITCHEN SPONGE INTO A HALF CIRCLE SHAPE TO MAKE MUSHROOMS

SPONGE PAINTED PUMPKIN PATCH – RECREATE IT ON BLACK PAPER TO MAKE THE PAINT REALLY POP

SPONGE PAINTED SNOWMAN CARD IDEA

CUT YOUR KITCHEN SPONGE INTO A CIRCLE TO MAKE POLAR BEARS

CUT YOUR KITCHEN SPONGE INTO A CIRCLE SHAPE TO MAKE SNOWMEN IN A PAPER PLATE SNOW GLOBE

SPONGE PAINTED GNOMES

SPONGE PAINTED PIZZA

TAKE A RECTANGLE PIECE OF KITCHEN SPONGE AND “PAINT” A REINDEER ON PAPER

SPONGE PAINTED FROG ON HANDPRINT LOG

SPONGE PAINTED WATERMELON

SPONGE PAINTED CAMPFIRE – CUT THE SPONGE IN A SMALL RECTANGLE SHAPE FOR THE FLAMES

SPONGE PAINTED & PAPER PLATE PUMPKIN PIE CRAFT IDEA FOR FALL

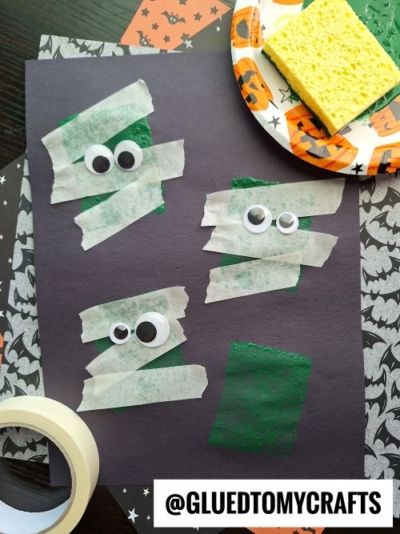
SPONGE PAINTED MUMMIES FOR HALLOWEEN – USE PAINTER’S TAPE FOR THE WRAPS

SPONGE PAINTED FISH FOR SUMMER FUN

SPONGE PAINTED BABY CHICK AND BUNNY

SPONGE PAINTED FLOWERS FOR SPRING

SPONGE PAINTED MONSTER – ADD HANDPRINT CUTOUTS

SPONGE PAINTED DANDELIONS

SPONGE PAINTED ORANGE PUMPKIN FOR FALL

Paper Plate & Sponge Stamped Igloo Craft Idea

Use a piece of kitchen sponge to stamp a LORAX on paper

SPONGE PAINTED HOT AIR BALLOONS IN THE SKY
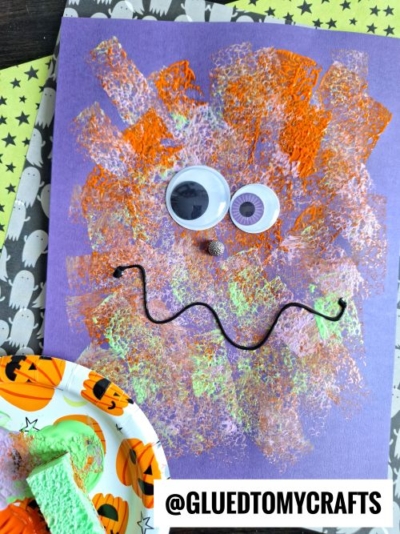
SPONGE PAINTED MONSTER CRAFT IDEA FOR HALLOWEEN
SPONGE PAINTED MUMMIES FOR HALLOWEEN – USE PAINTER’S TAPE FOR THE WRAPS
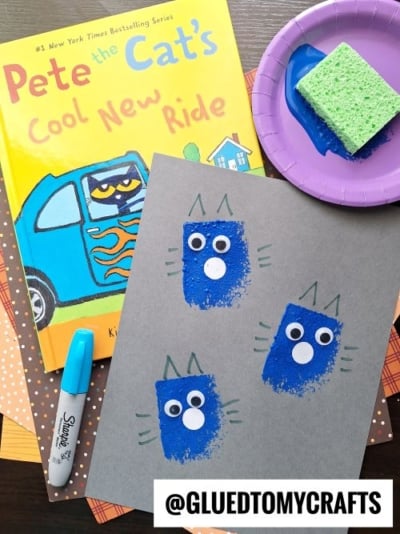
SPONGE PAINTED PETE THE CAT FOR STORY TIME
SPONGE PAINTED MUSHROOMS – USE CRAFT STICKS FOR THE STEMS
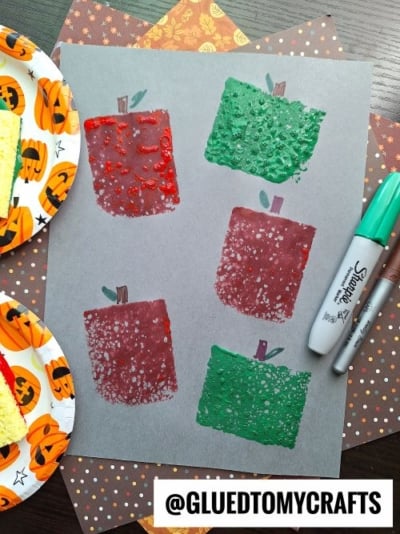
SPONGE PAINTED APPLES FOR FALL
SPONGE PAINTED APPLE TREES – USE CRAFT STICKS FOR THE TRUNKS
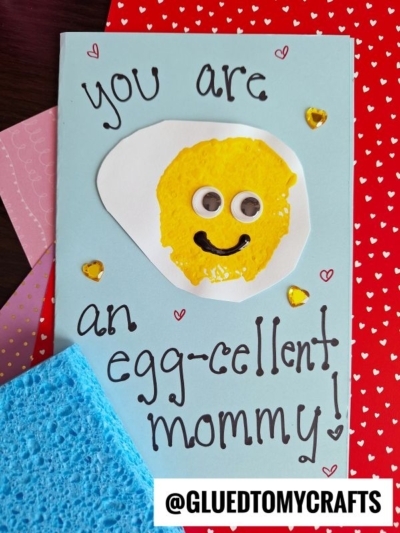
SPONGE PAINTED “YOU ARE AN EGG-CELLENT MOMMY” – IT’S A PUNNY CARD THAT IS PERFECT FOR MOTHER’S DAY

SPONGE PAINTED PETE THE CAT
SPONGE PAINTED PIZZA SLICES – USE HEART STICKERS FOR THE PEPPERONI

PAPER PLATE & SPONGE PAINTED PUPPY & KITTY

SPONGE PAINTED OWLS FOR VALENTINE’S DAY

SPONGE PAINTED CACTUS PLANT – THE SPIKES ARE DRAWN ON WITH A MARKER
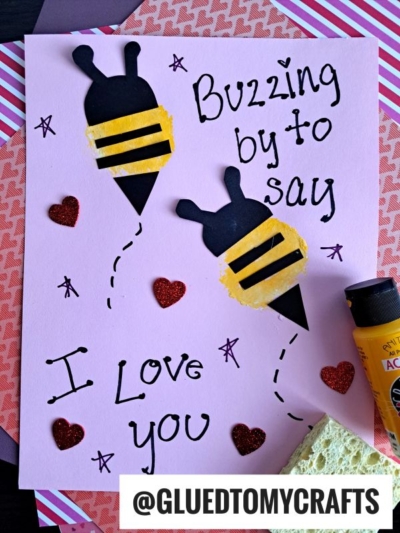
SPONGE PAINTED BEES – CUT A KITCHEN SPONGE INTO A CIRCLE SHAPE FOR THIS FUN DIY

SPONGE PAINTED WATERMELON

PENGUIN CARD – USE BLACK CARDSTOCK PAPER AND WHITE CRAFT PAINT FOR THIS FLUFFY CHARACTER

LOVE YOU “SMORE” CARD CRAFT IDEA – USE WHITE CRAFT PAINT TO MAKE MARSHMALLOWS ON PAPER

SPONGE PAINTED SPOOKLEY PUMPKIN FOR FALL
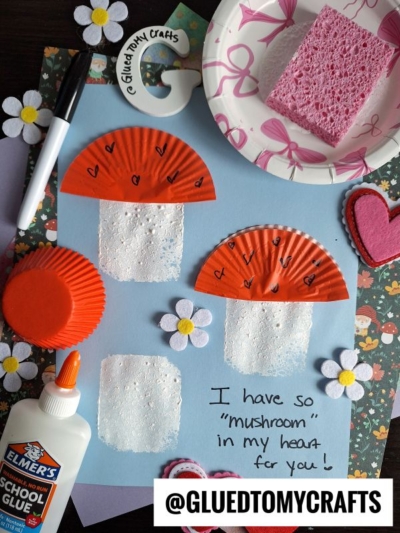
USE RED CUPCAKE LINERS AND WHITE CRAFT PAINT TO MAKE MUSHROOMS ON PAPER

SPONGE PAINTED LOVE MONSTER CRAFT IDEA FOR VALENTINE’S DAY

SPONGE PAINTED EGG IN A PAPER PLATE FRYING FAN
SPONGE PAINTED LOVE BUGS – USE HEART STICKERS FOR THEIR WINGS

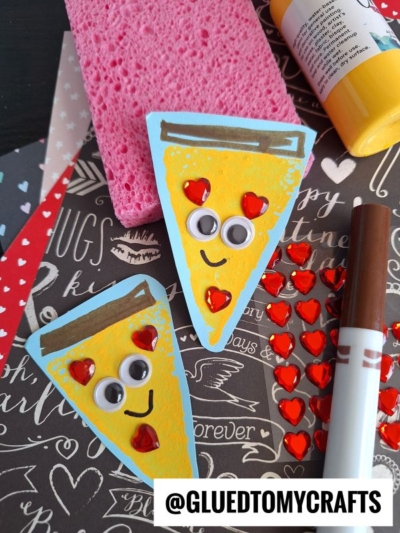
SPONGE PAINTED CANDY – THIS HANDMADE CARD IDEA IS PERFECT FOR VALENTINE’S DAY

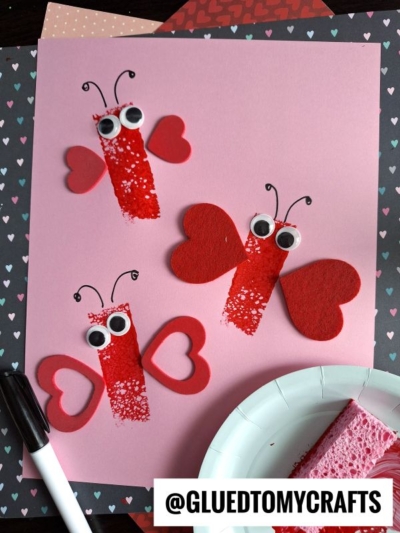
SPONGE PAINTED BUTTERFLIES – YOU MAKE MY HEART FLUTTER
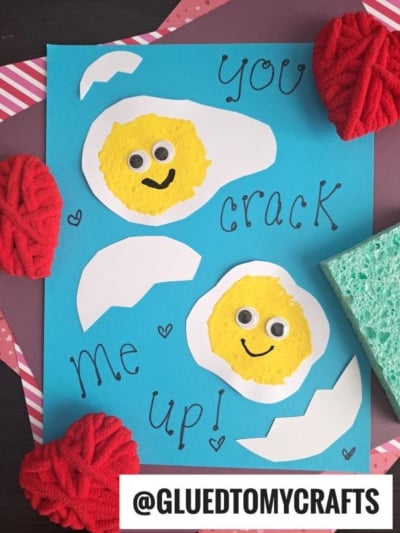
SPONGE PAINTED “YOU CRACK ME UP” EGGS – IT’S A PUNNY CARD THAT IS PERFECT FOR FATHER’S DAY

SPONGE PAINTED VALENTINE’S DAY EMOJI CARD IDEA

USE A PIECE OF KITCHEN SPONGE TO PAINT A “SWEET” CUPCAKE ON PAPER TODAY

USE A PIECE LONG RECTANGLE PIECE TO PAINT FIREWORKS ON PAPER
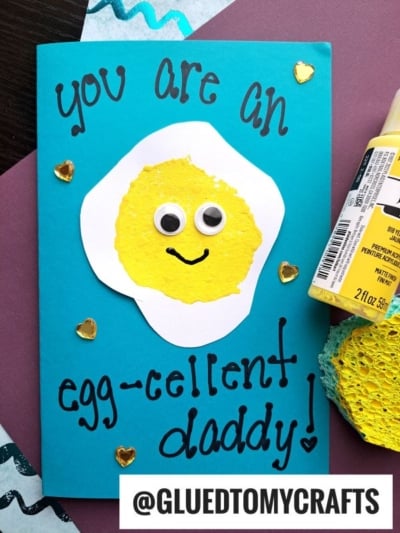
SPONGE PAINTED “YOU ARE AN EGG-CELLENT DADDY” FOR FATHER’S DAY

SPONGE PAINTED BABY CHICK

SPONGE PAINTED EASTER BUNNY FOR SPRING

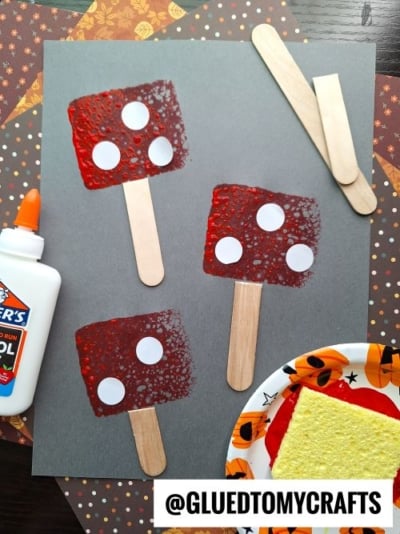
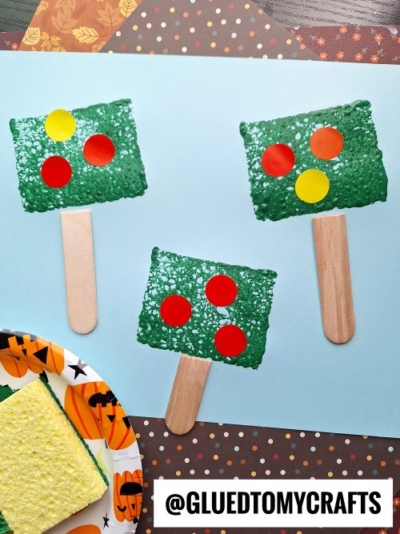
USE A RECTANGLE SHAPED SPONGE AND HALF WOOD STICKS TO MAKE POPSICLES!
![]()
Sponge painting is more than just a craft – it’s a gateway to endless creativity and fun for kids and adults alike. With just a few simple materials, you can transform ordinary sponges into tools for extraordinary art.
Whether you’re crafting for the holidays, creating keepsakes, or simply enjoying a rainy day activity, these ideas are sure to inspire smiles and spark imaginations.
So grab your sponges, pick your favorite idea, and let the painting adventures begin! Happy crafting!
