When the temperature drops and frost covers the windows, finding engaging indoor activities becomes a top priority for parents and teachers. Winter afternoons offer the perfect excuse to gather around the kitchen table, pull out the craft supplies, and make something special together. Crafting keeps little hands busy while helping kids develop fine motor skills and express their creativity.
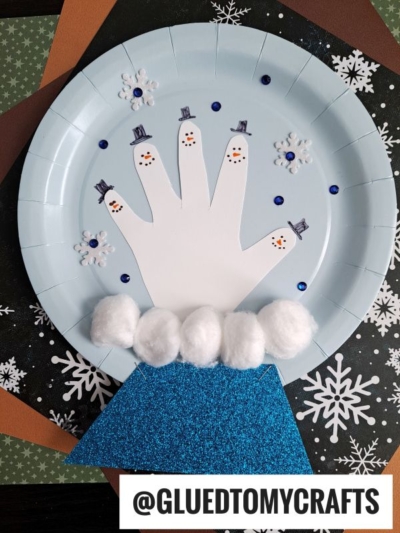
If you need a fun, festive project to brighten up a chilly afternoon, look no further than this paper plate handprint snowman snow globe. This craft transforms simple household supplies into an adorable winter wonderland scene. The best part? It uses your child’s handprint to create a group of five little snowmen, making it a wonderful personalized keepsake you can treasure for years to come!
Materials You Need
Gather the following craft supplies before you begin:
- One light blue paper plate (the standard round size works best)
- White cardstock or construction paper
- Blue glittery cardstock or foam paper
- White cotton balls
- Black and orange markers
- Small white snowflake stickers (foam or glitter varieties look great)
- Small blue craft jewels or rhinestones
- A pencil
- Kid-safe scissors
- School glue or a glue stick
- A stapler
Step-by-Step Instructions
Ready to build some snowmen without freezing your fingers? Follow these simple steps.
Step 1: Create the Snow Globe Base
- Start by taking your blue glittery cardstock and cutting out a trapezoid shape. This will serve as the heavy base of your snow globe. Make sure the top edge of the trapezoid is slightly narrower than the bottom edge.
- Position the top edge of the glittery base against the bottom rim of the light blue paper plate. Use your stapler to secure the base to the plate. Two staples, one on each side, usually do the trick to keep it sturdy.
Step 2: Make the Handprint Snowmen
- Grab your white cardstock and a pencil. Have your child place their hand flat on the paper, spreading their fingers slightly apart. Carefully trace the outline of their hand. Once traced, use your scissors to cut out the handprint.
- Now comes the fun part! Each finger on the handprint will become its own little snowman. Use the black marker to draw tiny top hats on the tips of each finger. Below the hats, add two black dots for eyes and a dotted coal smile. Finally, use the orange marker to draw a small carrot nose on each face.
Step 3: Assemble the Winter Scene
- Apply a generous amount of glue to the back of the decorated handprint. Place it right in the center of the light blue paper plate, positioning it so the fingers (your snowmen) point upward toward the top of the plate.
- Next, you need to add some snow for your snowmen to stand on. Take five or six cotton balls and stretch them out just a little bit. Glue them in a horizontal line directly across the palm of the handprint, right where the handprint meets the bottom rim of the plate. This creates a fluffy, textured snowbank.
Step 4: Add the Final Touches
- A snow globe needs falling snow! Hand over the snowflake stickers and blue jewels to your child. Let them decorate the empty light blue space around the handprint. Placing three or four glittery snowflakes and scattering small blue jewels across the “sky” gives the craft that magical, swirling snow globe effect.
- Press down firmly on all the glued pieces to ensure they stick, and set the plate aside to dry completely.
RELATED —> Santa Snow Globe Ornament
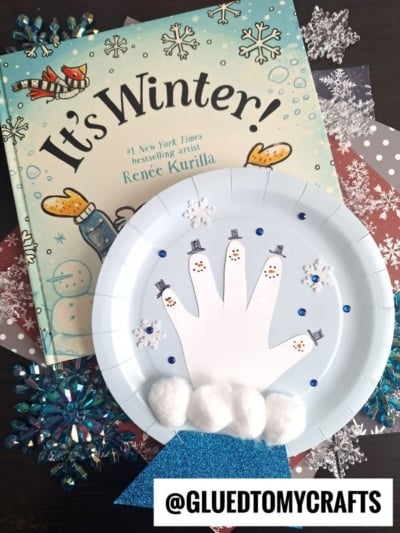
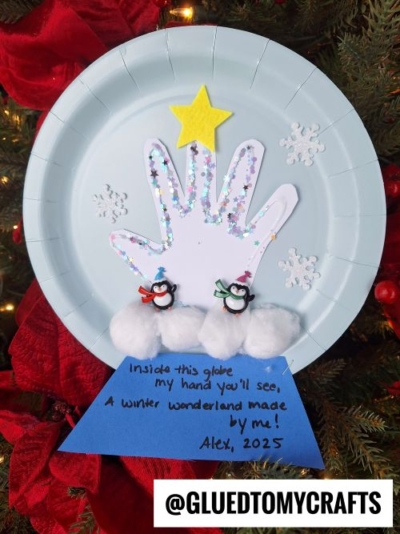
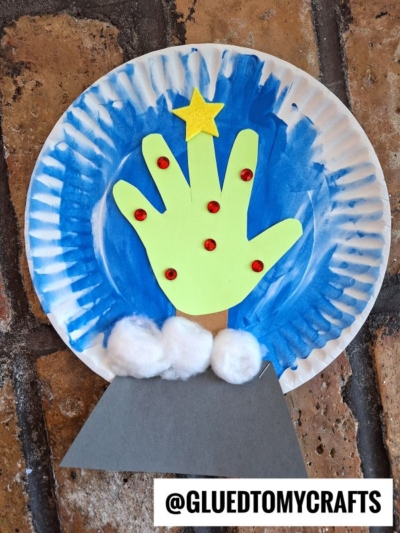
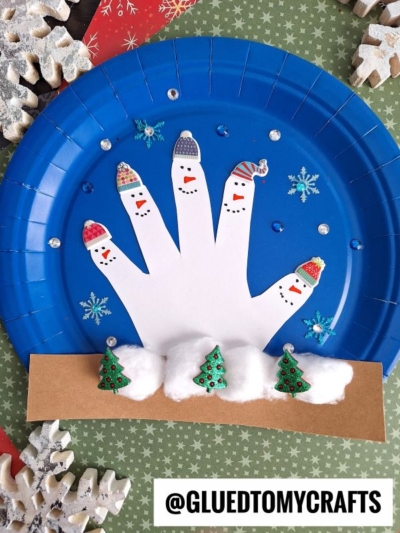
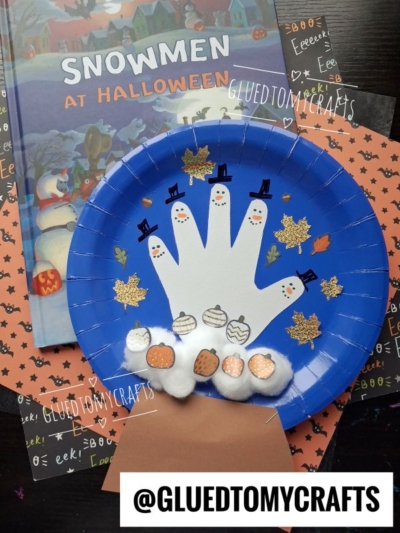
Making this paper plate and handprint snowman snow globe is an excellent way to spend a chilly winter afternoon. It encourages creativity, results in a beautiful seasonal keepsake, and brings a little bit of winter magic right into your home or classroom.
Gather your supplies, clear off some table space, and enjoy crafting a personalized winter wonderland with your kids today!

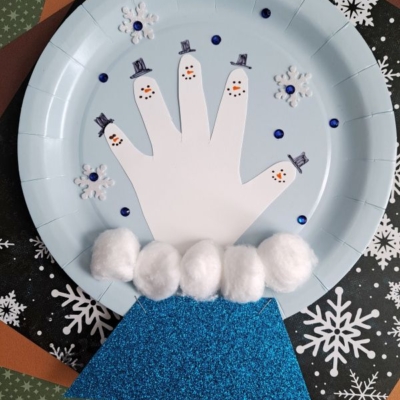
Handprint & Paper Plate Snowman Snow Globe Craft
Keep kids entertained this winter with our fun and easy paper plate handprint snowman snow globe craft. A perfect DIY holiday keepsake!
Here’s your checklist of supplies to bring this craft to life:
- Cardstock Paper
- Large Paper Plate
- White Cotton Balls
- Embellishments
Prepare your creative haven by laying down a protective cover before the crafting magic begins!
Directions:
- Start by taking your blue glittery cardstock and cutting out a trapezoid shape. This will serve as the heavy base of your snow globe. Make sure the top edge of the trapezoid is slightly narrower than the bottom edge.
- Position the top edge of the glittery base against the bottom rim of the light blue paper plate. Use your stapler to secure the base to the plate. Two staples, one on each side, usually do the trick to keep it sturdy.
- Grab your white cardstock and a pencil. Have your child place their hand flat on the paper, spreading their fingers slightly apart. Carefully trace the outline of their hand. Once traced, use your scissors to cut out the handprint.
- Now comes the fun part! Each finger on the handprint will become its own little snowman. Use the black marker to draw tiny top hats on the tips of each finger. Below the hats, add two black dots for eyes and a dotted coal smile. Finally, use the orange marker to draw a small carrot nose on each face.
- Apply a generous amount of glue to the back of the decorated handprint. Place it right in the center of the light blue paper plate, positioning it so the fingers (your snowmen) point upward toward the top of the plate.
- Next, you need to add some snow for your snowmen to stand on. Take five or six cotton balls and stretch them out just a little bit. Glue them in a horizontal line directly across the palm of the handprint, right where the handprint meets the bottom rim of the plate. This creates a fluffy, textured snowbank.
- A snow globe needs falling snow! Hand over the snowflake stickers and blue jewels to your child. Let them decorate the empty light blue space around the handprint. Placing three or four glittery snowflakes and scattering small blue jewels across the "sky" gives the craft that magical, swirling snow globe effect.
- Press down firmly on all the glued pieces to ensure they stick, and set the plate aside to dry completely.

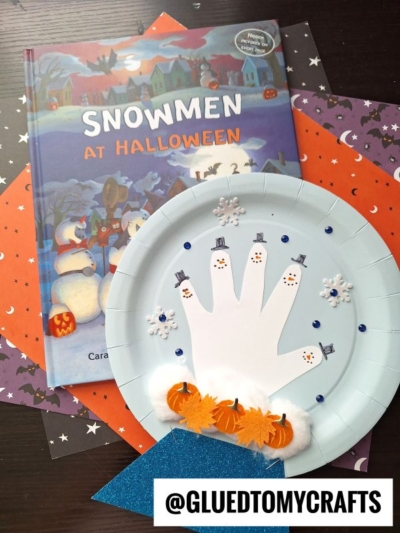
Grab our favorite books via our Amazon affiliate link! In our Amazon storefront you will find books, toys and craft supplies we absolutely love using for our Glued To My Crafts tutorials!
If you've enjoyed our content or have any thoughts to share, we'd love to hear from you! Mention @gluedtomycrafts or tag #gluedtomycrafts on Instagram!