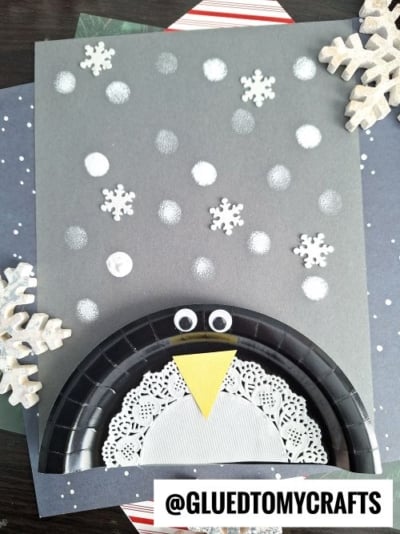
With one paper plate, a doily, and a little paint, your kids can make a cheerful penguin peeking up at a snowy sky.
This easy winter craft works well for preschoolers and early elementary kids at home or in the classroom. It takes about 30 minutes, plus a short drying break, and makes a sweet holiday display.
Craft Supplies:
- 1 black paper plate (about 9 inches)
- 1 white paper doily (about 6–8 inches)
- 1 small piece of yellow construction paper
- 2 googly eyes
- White paint and a round sponge brush or dauber
- 1 sheet of gray cardstock
- 5–6 foam or snowflake stickers
- Glue stick or white craft glue, plus scissors
Directions:
- Stamp the snowy sky. Dip the sponge in white paint and dab circles all over the gray cardstock. Leave the bottom third mostly clear for your penguin.
- Mix up the snowfall. Press firmly for bright snowballs, then dab lightly with a nearly dry sponge for faint ones. This gives the sky a soft, dreamy depth.
- Let it dry. Set the cardstock aside for 10–15 minutes so the paint won’t smudge.
- Cut the plate in half. Snip the black paper plate straight across the middle. One half becomes your penguin’s body. Save the other half for a second penguin!
- Glue the body down. Place the plate half along the bottom edge of the cardstock, curved side up, and glue it in place.
- Add the white belly. Cut the doily in half and glue it inside the black arch, lacy edge facing up.
- Give your penguin eyes. Glue two googly eyes near the top center of the black rim.
- Make the beak. Cut a small triangle from yellow paper and glue it point-down just below the eyes, slightly overlapping the doily.
- Sprinkle in snowflakes. Glue foam or paper snowflakes across the top and middle of the sky.
RELATED —> Handprint Penguin Card Craft Idea
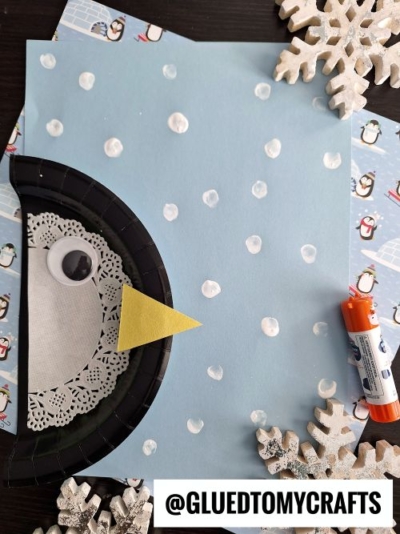
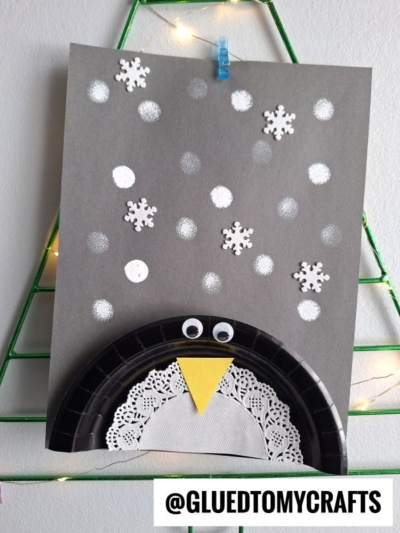
And just like that, a plain paper plate becomes a little penguin gazing up at a sky full of snow. The best part isn’t a perfect beak or neatly placed snowflakes. It’s the giggles over googly eyes, the paint on tiny fingers, and the proud grin when your kids hold up something they made themselves. Every penguin turns out a little different, and that’s exactly what makes each one special.
So grab a plate, stamp a snowy sky, and let your kids give their penguin its own personality. Then hang it up where everyone can enjoy it all winter long. We’d love to see your flock! Snap a photo, share it, and tag @GLUEDTOMYCRAFTS so we can cheer on your little artists. Stay cozy, keep crafting, and we’ll see you at the next glue-covered adventure!

Snowy Day Penguin Craft with a Paper Plate
Create a fun paper plate penguin craft with easy steps. Use simple materials to bring your adorable friend to life this winter season!
Here’s your checklist of supplies to bring this craft to life:
Prepare your creative haven by laying down a protective cover before the crafting magic begins!
Directions:
- Stamp the snowy sky. Dip the sponge in white paint and dab circles all over the gray cardstock. Leave the bottom third mostly clear for your penguin.
- Mix up the snowfall. Press firmly for bright snowballs, then dab lightly with a nearly dry sponge for faint ones. This gives the sky a soft, dreamy depth.
- Let it dry. Set the cardstock aside for 10–15 minutes so the paint won't smudge.
- Cut the plate in half. Snip the black paper plate straight across the middle. One half becomes your penguin's body. Save the other half for a second penguin!
- Glue the body down. Place the plate half along the bottom edge of the cardstock, curved side up, and glue it in place.
- Add the white belly. Cut the doily in half and glue it inside the black arch, lacy edge facing up.
- Give your penguin eyes. Glue two googly eyes near the top center of the black rim.
- Make the beak. Cut a small triangle from yellow paper and glue it point-down just below the eyes, slightly overlapping the doily.
- Sprinkle in snowflakes. Glue foam or paper snowflakes across the top and middle of the sky.

Grab our favorite books via our Amazon affiliate link! In our Amazon storefront you will find books, toys and craft supplies we absolutely love using for our Glued To My Crafts tutorials!
If you've enjoyed our content or have any thoughts to share, we'd love to hear from you! Mention @gluedtomycrafts or tag #gluedtomycrafts on Instagram!