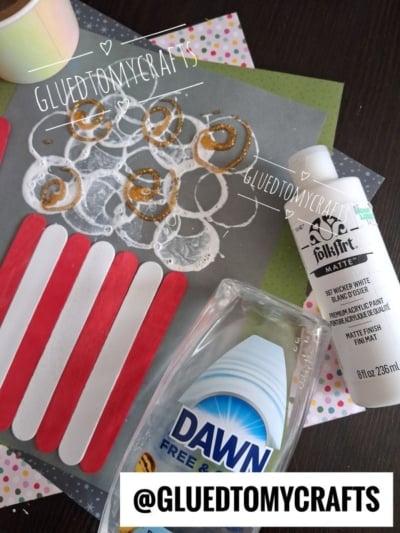
This popsicle stick popcorn craft is so much fun to recreate any time of the year. Kids stamp bubbly “popcorn” with a cardboard tube, swirl on glittery “butter,” and build a classic red-and-white striped bucket from popsicle sticks.
It’s an easy, low-mess project that uses supplies you probably already have. It works well for movie night, a classroom party, a rainy afternoon, or a “P is for Popcorn” lesson. Let’s get “stamping!”
Craft Supplies:
- 7 popsicle sticks: 4 painted red and 3 painted white
- 1 sheet of dark gray cardstock (the dark color makes the white popcorn pop)
- White acrylic paint
- Dawn dish soap
- 1 cardboard toilet paper roll
- 1 small paper cup
- Gold glitter glue
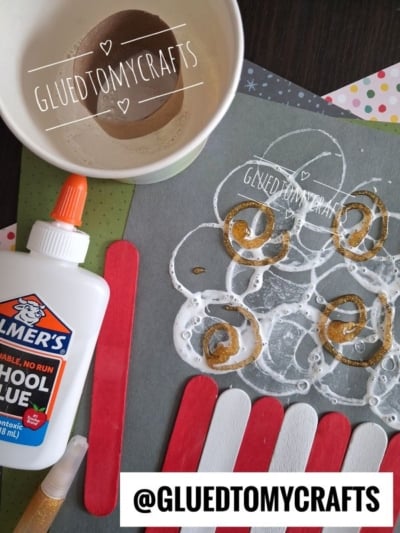
- Elmer’s school glue
Prep tip: Paint your popsicle sticks the day before, or at least an hour ahead, so they’re dry when it’s time to build the bucket. Any red and white acrylic craft paint works.
Directions:
1. Line up your bucket stripes
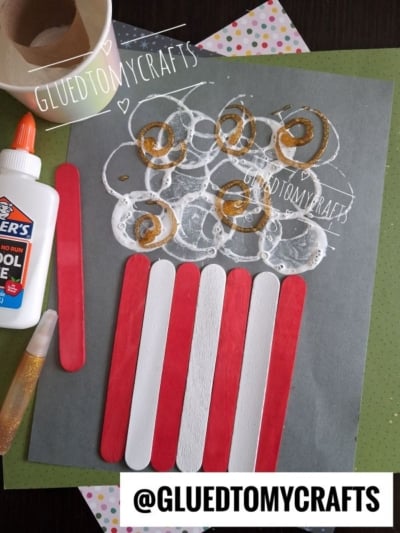
Lay the painted popsicle sticks in a row along the bottom third of the gray cardstock, alternating colors: red, white, red, white, red, white, red.
2. Glue the bucket in place
Run a thin line of Elmer’s glue down the back of each stick and press it firmly onto the cardstock. Hold each one for a few seconds so it sticks. Set the paper aside and let the glue dry completely before moving on.
3. Mix your bubbly popcorn paint
Squeeze about 2 tablespoons of white acrylic paint into the small paper cup. Add a small squirt of Dawn dish soap, about 1 teaspoon. Stir gently with a popsicle stick until the mix looks creamy with tiny bubbles on top.
The soap gives the stamps a light, airy, bubbly texture that looks just like freshly popped kernels.
4. Dip the cardboard tube
Stand the toilet paper roll upright in the cup so the bottom rim gets coated in paint. Lift it out and let any extra drip back into the cup for a second.
5. Stamp the popcorn pile
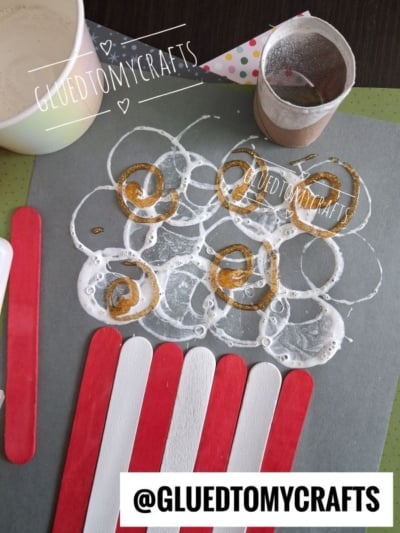
Press the painted end of the tube onto the top half of the gray cardstock, directly above the popsicle stick bucket, then lift it straight up. Keep stamping and overlapping the circles to build a big, fluffy, cloud-shaped mound.
Watch for this: Press and lift — no twisting or sliding. A straight lift leaves crisp, bubbly rings. Re-dip the tube every 2 or 3 stamps to keep the circles bold.
6. Let the popcorn dry
Set the paper aside for 15 to 20 minutes, or until the paint feels dry to the touch. Glitter glue on wet paint will smear and turn muddy, so give it time.
7. Add the glitter glue “butter”
Squeeze gold glitter glue onto a few of the stamped circles in small swirls or spirals. Five or six swirls spread across the pile look great. This is the fun part, so let kids go wild with their “extra butter.”
8. Dry it flat
Leave your finished popcorn flat for about an hour so the glitter sets completely. Then it’s ready to display!
Troubleshooting Tips:
- If the circles look faint or patchy: Add a little more paint to the cup and re-dip more often.
- If the paint is too runny and drips: Stir in another squeeze of paint to thicken it up.
- If you see no bubbles: Add a few more drops of soap and stir gently. Fast stirring pops the bubbles.
- If the popsicle sticks keep sliding: Use a thinner line of glue and press longer. Too much glue makes them slip.
RELATED —> Cotton Ball Popcorn Craft Idea w/Free Printable
There’s something really special about sitting down together, mixing up a cup of bubbly paint, and watching a simple strip of gray paper turn into something that makes a kid beam with pride. That’s what this craft is all about. It’s not just a popcorn bucket — it’s the giggles over who gets the most glitter, the little hands pressing the cardboard tube down just right, and the proud moment when they hold it up and say, “I made that!”
We want to hear all about it! Did your kids go wild with the glitter butter, or did they keep it neat and classic? Did they add extra swirls, mix up the colors, or maybe even give their popcorn bucket a name? Please tag us at @GLUEDTOMYCRAFTS — seeing your finished creations truly makes our day. Every bubbly, glittery, popsicle-stick popcorn bucket is a little work of art, and yours deserves to be seen. 🍿✨
Here’s to messy hands, big smiles, and crafts that make kids say, “Can we do it again?” Happy crafting, my friends!