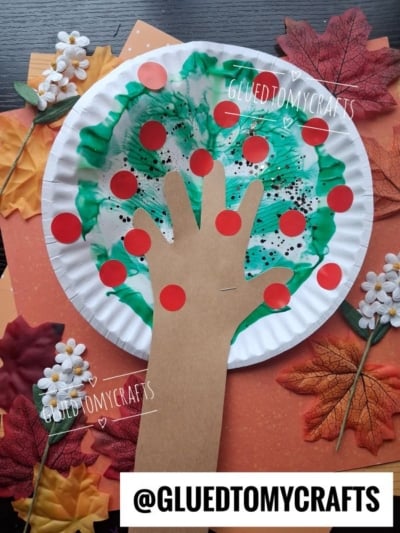
Fall is the perfect season to slow down, grab some supplies, and make a little mess with the kids. And this Paper Plate Paint Splat Apple Tree is exactly the kind of craft that brings big smiles with very little fuss.
This one uses your child’s own handprint as the tree trunk, so it doubles as a keepsake you’ll want to hang on the fridge (or tuck away for years). Best of all, we’re skipping the fiddly cut-out paper circles and using red dot stickers for the apples. Little hands love stickers, and you’ll love how quick and easy they make this project. Let’s dig in!
Craft Supplies:
Gather up these simple supplies before you begin:
- 1 white paper plate (the base of your tree)
- Green paint (two shades – washable is best for young crafters)
- Brown construction paper (for the trunk and branches)
- Red dot stickers (your apples!)
- Glitter (optional, for a little sparkle)
- Scissors (adult use for tricky cuts)
- Glue or a stapler (to attach the trunk)
That’s it! Chances are you already have most of these on hand.
Directions:
Step 1: Trace and Cut the Handprint
Lay your child’s hand flat on the brown construction paper with fingers spread wide. Trace all the way around the hand and down the forearm. The forearm becomes the tree trunk, and the spread-out fingers become the branches.
Carefully cut out the shape (this part is best for grown-up hands).
Step 2: Paint Splat the Leaves
Now for the fun part! Fold your paper plate in half. Open it back up and draw several squiggles of green paint on one side. Fold it back up again and “squish” the paint inside. Once you open it back up, the messy “magic” represents the tree’s foliage.
Step 3: Add Some Sparkle (Optional)
While the paint is still wet, sprinkle a pinch of glitter over the green. It catches the light beautifully and gives your tree that extra bit of fall shimmer. Skip this step if you’d rather keep things glitter-free, no problem at all.
Let the paint dry before moving on so nothing smudges.
Step 4: Attach the Trunk
Once the paint is dry, place the brown handprint vertically in the center of the plate. The forearm should sit at the bottom as the trunk, with the fingers reaching up into the green like branches.
Attach it with a dab of glue or a single staple near the base. If you use a stapler, an adult should handle that step.
Step 5: Press On the Apples
Here’s where the red dot stickers shine. Hand them to your child and let them peel and press the dots all over the tree. Scatter them across the green foliage and along the brown branches so it looks like apples are growing everywhere.
There’s no need for a pattern. A random sprinkle of “apples” looks the most natural and lets kids feel proud of their own choices.
And there you have it, a bright and cheerful apple tree bursting with fall color and personality.
RELATED —> Apple Stamped Craft Ideas For Fall
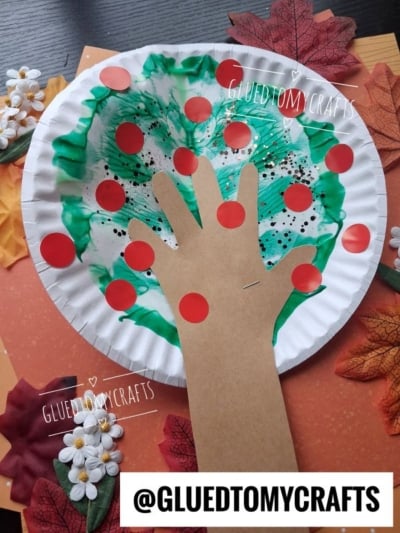
Whether you make one at home on a rainy afternoon or a whole forest of them in the classroom, this craft is sure to become a seasonal favorite.
Don’t forget to write your child’s name and the date on the back. Years from now, that tiny handprint trunk will mean the world to you. Happy crafting, and enjoy every sticky, sparkly, wonderful moment of the season!
