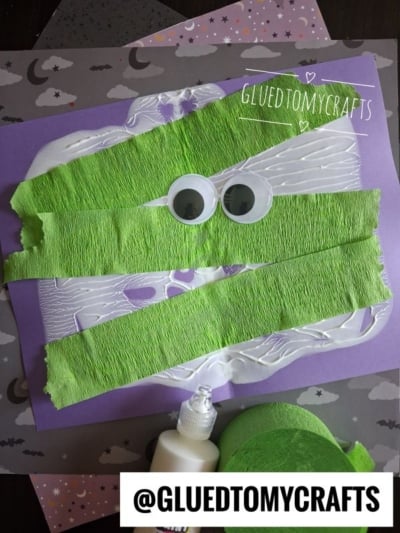
Get ready for the spookiest, silliest, and squishiest Halloween craft around! This paint splat mummy is one of those magical projects where you never know exactly how it’ll turn out.
Every mummy is a surprise, which makes it perfect for little hands and big imaginations. Best of all, the supplies are simple and the mess is totally worth it. Let’s make some mummies!
Craft Supplies:
- Cardstock Paper {a dark color}
- White Craft Paint {we love Tulip fabric paint}
- Crepe Paper {in shades of purple or green}
- Extra Large Wiggle Eyes{two per mummy}
Directions:
- Take your sheet of cardstock paper and fold it in half. Press along the crease so you get a nice, clean line. This fold is the secret behind the fun splat effect.
- Now unfold your paper and lay it flat. You should see your crease line running right down the middle.
- Grab your white puffy paint and squirt a few blobs onto just one side of the paper. Don’t overthink it! Wiggly lines, zigzags, big dots, small dots… anything goes. The messier, the better.
- Fold the paper back along your crease so the two sides press together. Now use your hands to gently squish and smooth the paper. Can you feel the paint moving around inside? That’s the magic happening!
- Slowly and carefully peel the paper open. Ta-da! Look at that awesome splatty shape. Every single one looks different, so give yours a good look. What does your mummy shape remind you of?
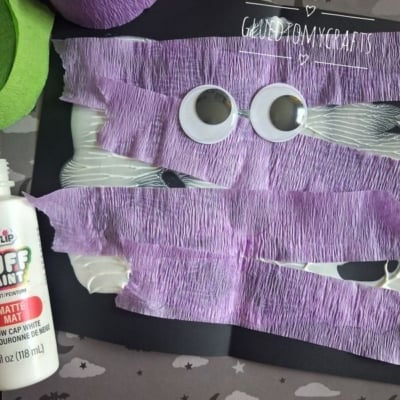
- While the paint is still wet, tear your crepe paper into short strips. Ripped edges are perfect here since real mummy bandages are messy too! Lay the strips across your paper in layers, leaving little gaps here and there. Those gaps let your paint splat peek through.
- Time for the finishing touch! Glue two googly eyes right between the crepe paper strips. Watch how your creation instantly comes to life with a goofy, spooky stare.
- At this point in time you can add any other embellishments you see fit and set it aside to let it dry completely, before displaying proudly for all to see!
RELATED —> Tissue Paper Mummy Craft Idea
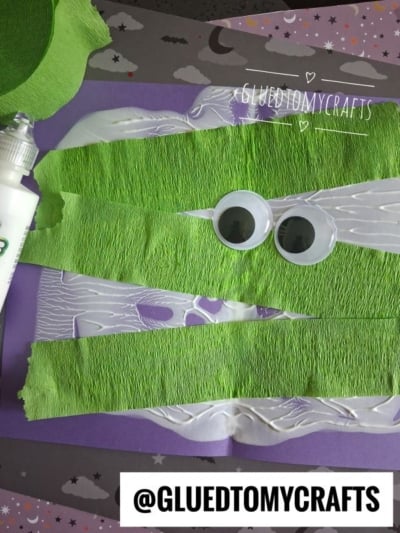
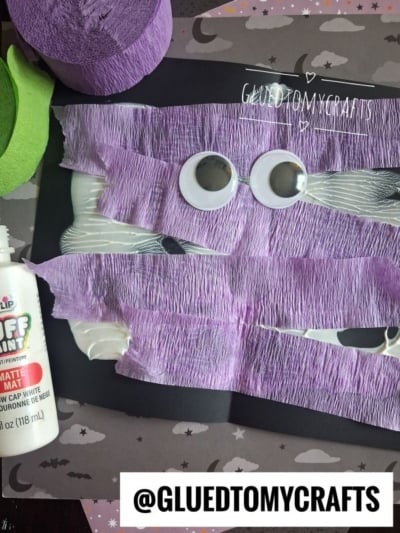
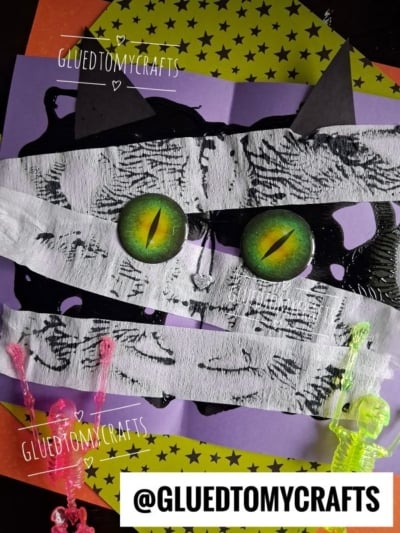
Your paint splat mummy is ready to haunt the fridge, the classroom wall, or a Halloween party. Every mummy turns out one-of-a-kind, so try making a whole family of them with different colors and eye placements.
Happy crafting, and have a spook-tacular Halloween!

Crepe Paper and Paint Splat Mummy Craft Idea For Halloween
Looking for a Halloween craft that's spooky, silly, and totally doable with a wiggly toddler at the table? This crepe paper mummy is exactly that. It uses simple supplies you probably already have in your craft bin, and it comes together in just a few minutes!
Here’s your checklist of supplies to bring this craft to life:
- Cardstock Paper
- Tulip Puffy Paint
- Crepe Paper
- Wiggle Eyes
Prepare your creative haven by laying down a protective cover before the crafting magic begins!
Directions:
- Take your sheet of cardstock paper and fold it in half. Press along the crease so you get a nice, clean line. This fold is the secret behind the fun splat effect.
- Now unfold your paper and lay it flat. You should see your crease line running right down the middle.
- Grab your white puffy paint and squirt a few blobs onto just one side of the paper. Don't overthink it! Wiggly lines, zigzags, big dots, small dots... anything goes. The messier, the better.
- Fold the paper back along your crease so the two sides press together. Now use your hands to gently squish and smooth the paper. Can you feel the paint moving around inside? That's the magic happening!
- Step 5: Reveal Your Mummy
- Slowly and carefully peel the paper open. Ta-da! Look at that awesome splatty shape. Every single one looks different, so give yours a good look. What does your mummy shape remind you of?
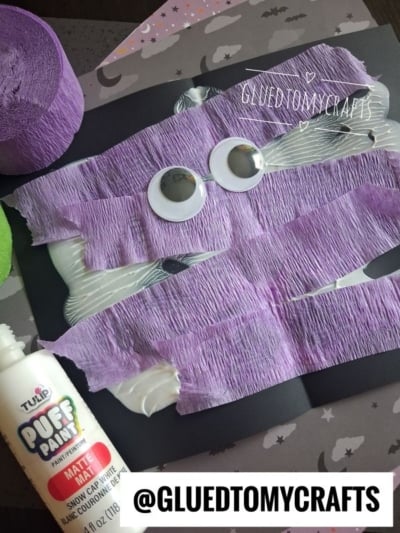
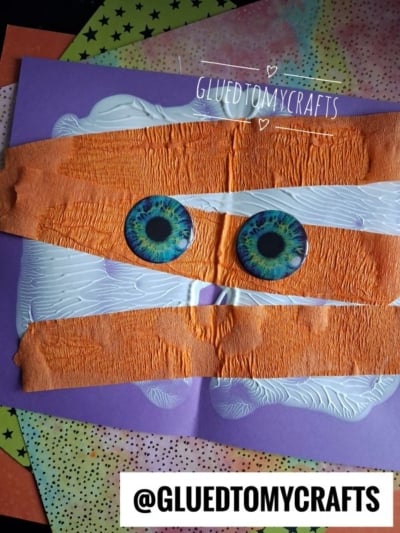
- While the paint is still wet, tear your crepe paper into short strips. Ripped edges are perfect here since real mummy bandages are messy too! Lay the strips across your paper in layers, leaving little gaps here and there. Those gaps let your paint splat peek through.
- Time for the finishing touch! Glue two googly eyes right between the crepe paper strips. Watch how your creation instantly comes to life with a goofy, spooky stare.
- At this point in time you can add any other embellishments you see fit and set it aside to let it dry completely, before displaying proudly for all to see!

Grab our favorite books via our Amazon affiliate link! In our Amazon storefront you will find books, toys and craft supplies we absolutely love using for our Glued To My Crafts tutorials!
If you've enjoyed our content or have any thoughts to share, we'd love to hear from you! Mention @gluedtomycrafts or tag #gluedtomycrafts on Instagram!