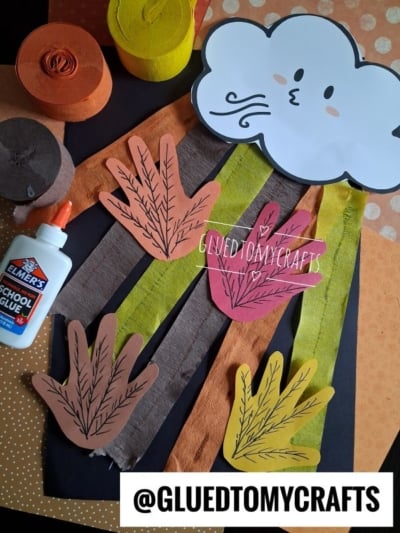
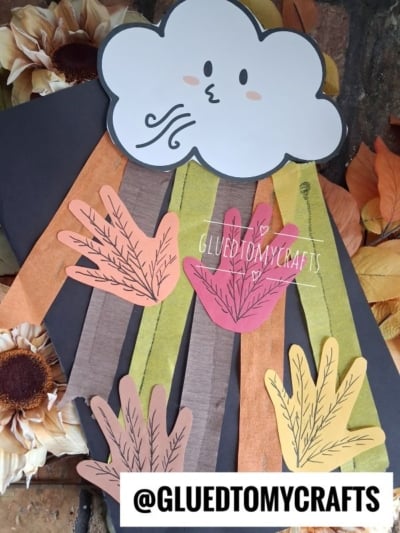
There’s something magical about watching leaves swirl through the crisp autumn air, and now your little ones can capture that feeling in a craft they’ll be proud to hang on the fridge. This Windy Fall Day Handprint Leaves Craft brings together a cheerful blowing wind cloud, colorful crepe paper “gusts,” and adorable handprint leaves that make the whole scene come alive. It’s simple, it’s messy in all the best ways, and it doubles as a keepsake of those tiny hands that grow up way too fast.
Whether you’re a parent looking for a cozy afternoon activity, a teacher planning your fall lesson, or a preschool educator hunting for the perfect seasonal project, this one checks every box. Grab our free cloud printable, round up a few basic supplies, and let’s make some autumn wind together!
Craft Supplies:
- 1 sheet of extra large construction paper (we used black – this is your base)
- Colored construction paper in orange, red, brown, and yellow (for the handprint leaves)
- Crepe paper streamers in orange, brown, and yellow
- Elmer’s Washable School Glue
- A black marker
- Scissors
- White cardstock paper {for your cloud}
- Our FREE cloud printable – on box.com – password is GLUEDTOMYCRAFTS2026
Directions:
Step 1: Print and Prep Your Cloud
- Start by downloading and printing the free cloud printable.
- Cut out the cute little wind cloud, complete with its happy face and swirly gusts of blowing wind. This friendly guy sets the whole scene, so give him a good spot to shine.
Step 2: Trace and Cut the Handprint Leaves
- Here’s the part kids adore. Trace your child’s hand onto each color of construction paper, orange, red, brown, and yellow. Then carefully cut out all four handprints. Little ones can help with the tracing, while grown-ups may want to handle the tricky cutting around fingers.
Step 3: Add Leafy Details
- Using your black marker, draw thin branch-like veins radiating out across each handprint. These simple lines instantly transform plain hand shapes into leaves tumbling through the wind. Don’t worry about being perfect. A little wobble adds charm!
Step 4: Cut Your Crepe Paper Streamers
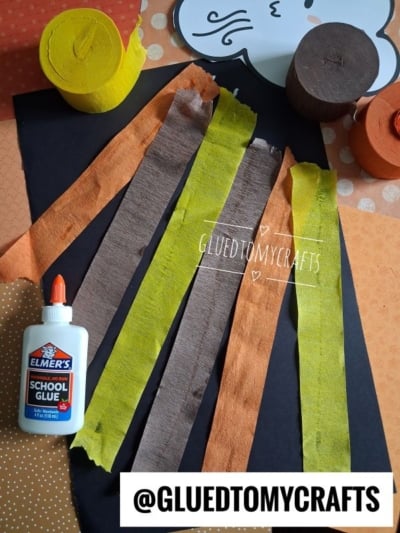
- Tear several long strips of crepe paper in orange, brown, and yellow. Aim for pieces long enough to stretch across your construction paper. These streamers become the swirling wind that carries your leaves along.
Step 5: Glue Down the Wind
- Arrange your crepe paper strips diagonally across the construction paper, running from the top corner down toward the bottom. Alternate the colors for a lively, layered look.
- Add a line of Elmer’s glue and press each streamer into place.
Step 6: Attach the Blowing Cloud
- Glue your printable cloud near the top of the page, positioned so it looks like it’s blowing all that wind across the paper. This is the heart of the scene, so make sure those cheerful gusts are pointing in the right direction.
Step 7: Add the Falling Leaves
- Finally, glue your decorated handprint leaves on top of the crepe paper streamers. Scatter them diagonally across the page to mimic leaves dancing in the breeze. Mix up the colors and angles so each one looks like it’s floating down at its own pace.
- Let everything dry, and you’re done!
RELATED —> Crepe Paper & Paper Plate Sunshine Craft Idea
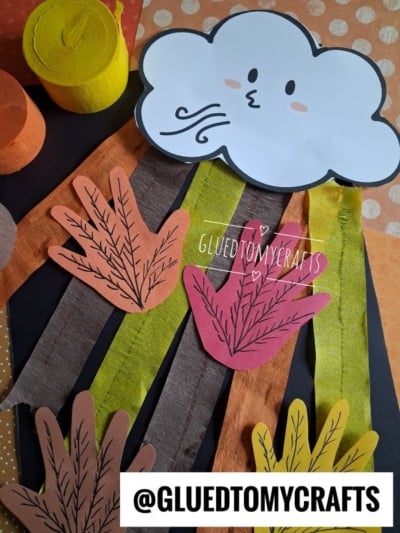
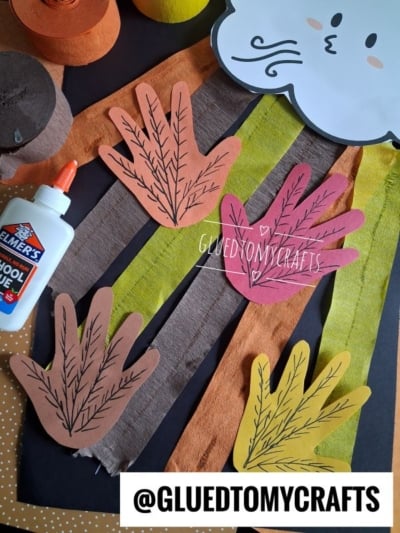
And there you have it, friends – a cheerful little scene bursting with fall color and personality! Those crepe paper streamers, that adorable blowing cloud, and the sweet handprint leaves come together to capture everything we love about the season. Best of all, those tiny handprints turn a simple afternoon activity into a keepsake you’ll treasure long after the leaves have fallen.
If you haven’t grabbed it yet, don’t forget to snag your free cloud printable to make setup a breeze. Once your masterpiece is finished, we’d love to see it! Snap a photo, share it, and tag us @GLUEDTOMYCRAFTS so we can celebrate your little crafter’s creativity right along with you.
Hungry for more hands-on fun? Browse the site for dozens of easy, kid-approved craft ideas perfect for every season and holiday. There’s always something new to make together. Happy crafting, my friends!
