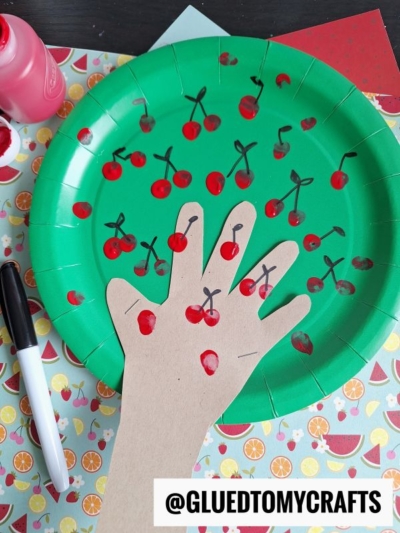
Summer brings warm weather, long afternoons, and the perfect excuse to get a little messy with paint. When kids are home and looking for fun activities, simple art projects easily save the day. We love crafts that use basic items you already have tucked away in your kitchen cabinets or craft bins. This paper plate and fingerprint cherry tree craft captures the bright, cheerful feel of the season.
It is wonderfully simple to set up and allows kids to use their hands directly in the creative process. This makes it a fantastic project for parents, teachers, and caregivers working with toddlers and elementary-aged kids. You will love how easily this vibrant project comes together.
Craft Supplies:
To make this cherry tree, gather these simple supplies:
- One large green paper plate (if you only have white plates, you can paint or color one green first)
- Brown or tan cardstock paper
- Washable red craft paint
- A black permanent marker
- Scissors
- A glue stick or school glue
- A pencil
Directions:
- Start by tracing your child’s hand and a portion of their forearm onto the brown cardstock using your pencil. Cut this shape out carefully. The forearm section acts as the sturdy tree trunk, while the outstretched fingers serve as the tree branches.
- Grab your green paper plate. Apply glue to the back of the brown handprint cutout. Press it firmly onto the bottom half of the green plate. Make sure the fingers point upward, spreading out across the green surface.
- Pour a small dab of red paint onto a scrap piece of cardboard or a small dish. Help your child dip their thumb or index finger into the red paint. Press the painted finger firmly onto the green plate and the brown branches to stamp the cherries. We suggest stamping them in little pairs. Continue adding red fingerprints until your tree looks full and fruitful. Set the craft aside and let the paint dry completely.
- Once the red paint is totally dry to the touch, grab your black marker. Draw small lines or “V” shapes above the red dots to create stems. This final touch connects the cherries to the branches and brings the whole tree to life.
- When you are done decorating your paper plate tree, set it aside to let it dry completely before displaying it proudly for all to see!
RELATED —> Popsicle Stick Cherry Blossom Tree Branch
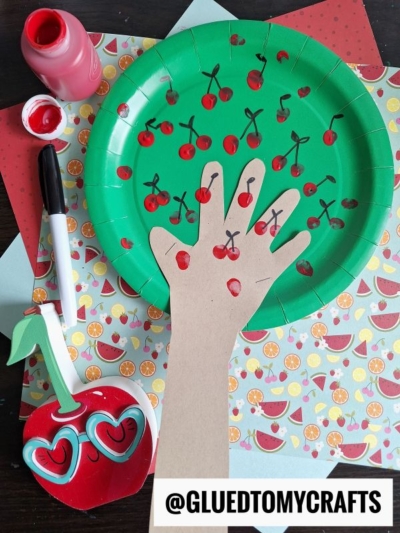
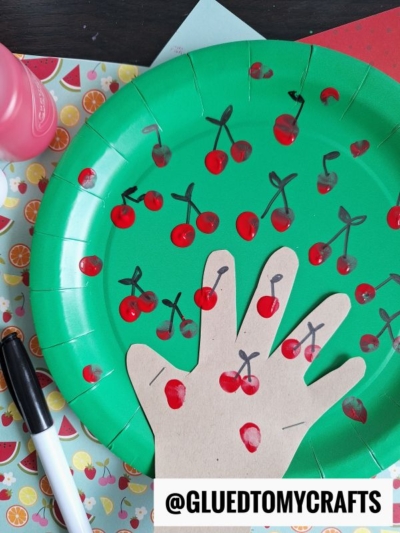
Display your bright and beautiful summer tree on the fridge, a classroom wall, or a bedroom door. This simple craft is more than just a cute decoration – it’s a chance to nurture children’s creativity and imagination, and practice important skills like cutting, tracing, and painting. Fingerprint art is a wonderful way to strengthen fine motor skills, while gluing and assembling the pieces helps with coordination and following instructions.
Even more importantly, activities like this are an opportunity for true connection. Crafting together sparks laughter, conversation, and lasting memories. Kids love seeing their artwork proudly displayed, and sharing your project on social media can inspire friends, classmates, or family to join in on the creative fun. Your cherry tree can also be a seasonal decoration at home or a thoughtful, homemade gift for grandparents or teachers.
So gather your supplies, dive into the colorful mess, and celebrate all the joyful moments that come with making art together. Happy crafting, my friends!

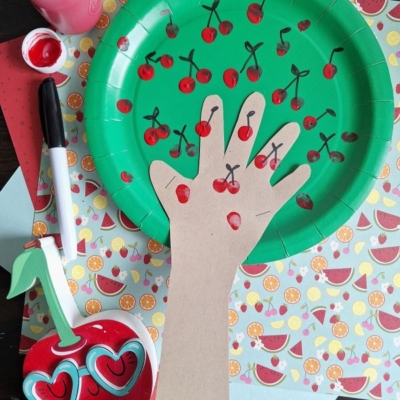
Paper Plate and Thumbprint Cherry Tree Craft Idea
Transform a paper plate into a delightful cherry tree with our step-by-step instructions. A great craft for children!
Here’s your checklist of supplies to bring this craft to life:
- Cardstock Paper
- Craft Paint
- Large Paper Plate
- Embellishments
Prepare your creative haven by laying down a protective cover before the crafting magic begins!
Directions:
- Start by tracing your child's hand and a portion of their forearm onto the brown cardstock using your pencil. Cut this shape out carefully. The forearm section acts as the sturdy tree trunk, while the outstretched fingers serve as the tree branches.
- Grab your green paper plate. Apply glue to the back of the brown handprint cutout. Press it firmly onto the bottom half of the green plate. Make sure the fingers point upward, spreading out across the green surface.
- Pour a small dab of red paint onto a scrap piece of cardboard or a small dish. Help your child dip their thumb or index finger into the red paint. Press the painted finger firmly onto the green plate and the brown branches to stamp the cherries. We suggest stamping them in little pairs. Continue adding red fingerprints until your tree looks full and fruitful. Set the craft aside and let the paint dry completely.
- Once the red paint is totally dry to the touch, grab your black marker. Draw small lines or "V" shapes above the red dots to create stems. This final touch connects the cherries to the branches and brings the whole tree to life.
- When you are done decorating your paper plate tree, set it aside to let it dry completely before displaying it proudly for all to see!

Grab our favorite books via our Amazon affiliate link! In our Amazon storefront you will find books, toys and craft supplies we absolutely love using for our Glued To My Crafts tutorials!
If you've enjoyed our content or have any thoughts to share, we'd love to hear from you! Mention @gluedtomycrafts or tag #gluedtomycrafts on Instagram!