These cute little creations are sure to bring joy and cheerful cheer wherever they go. Not only do they look great, but even better, they're easy for anyone to make!

These cute little reindeer paper pinecone creations are sure to bring joy and cheerful cheer wherever they go. Not only do they look great, but even better, they’re easy for anyone to make!
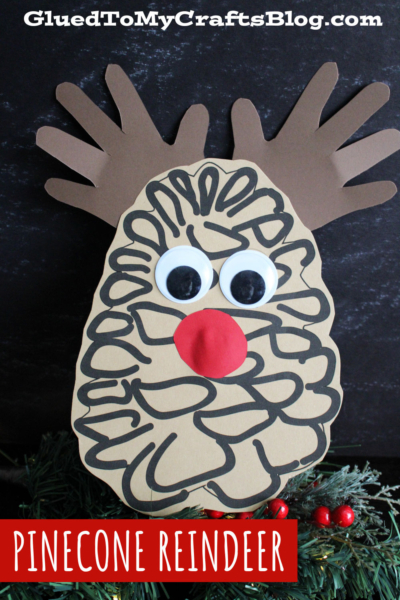
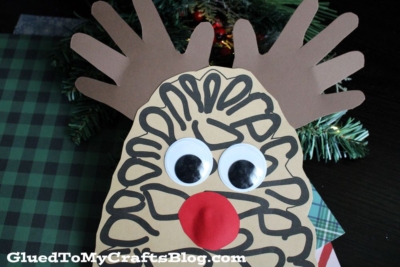
Looking for a festive and fun activity to get your kids into the holiday spirit? This Pinecone Reindeer Craft is the perfect way to combine creativity and Christmas cheer!
Using simple supplies like cardstock, googly eyes, and our free pinecone printable, your little ones can create adorable reindeer decorations that will brighten up any space.
Whether it’s for a classroom project, a family crafting session, or just a cozy afternoon at home, this craft is easy, engaging, and full of holiday magic. Follow our step-by-step guide and let the reindeer fun begin!

Get into the holiday spirit with an adorable craft that your kids will LOVE! Make this festive pinecone reindeer decoration and spread some Christmas cheer in your home today!
Craft Supplies:
- PINECONE PRINTABLE – on our landing page
- Light Brown Cardstock
- Dark Brown Cardstock
- Red Cardstock Paper
- Pencil or Pen
- Craft Scissors
- Adhesive
- Googly Eyes – two per reindeer
Directions:
- First things first, grab the free “pinecone” file {listed above in the supply list} and print it out on light brown cardstock paper.
- Go ahead and trim out the pinecone shape from the paper.
- Discard excess paper when done cutting.
- Next grab a piece of dark brown cardstock paper and your pencil.
- Lay your child’s little hands FLAT on the paper and trace around both of them.
- When done tracing, trim out the handprint designs from the paper. These two pieces will become the antlers.
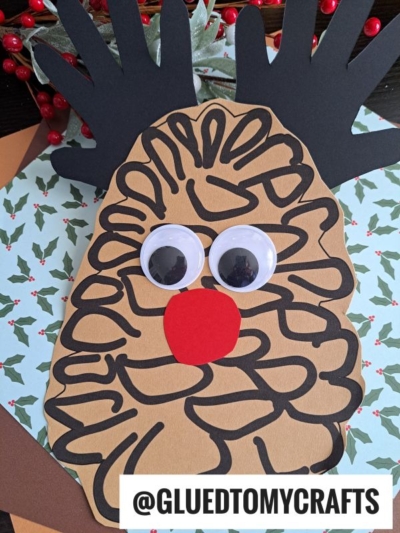
- Finally – cut out a small oval nose shape from the red cardstock paper.
- Now you are ready to assemble it all together.
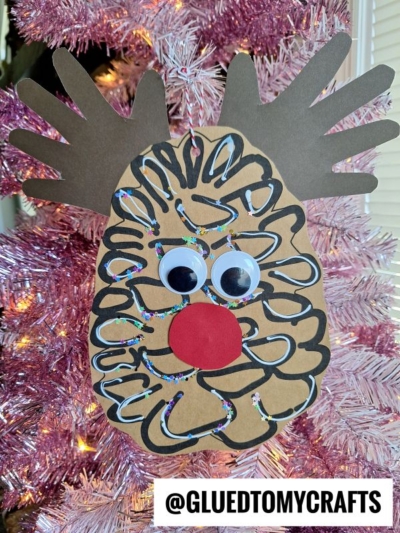
- Start off my gluing the two handprint antlers to the back of the pinecone shape.
- Follow up that step by gluing down the red nose to the front.
- To finish off your Paper Pine Reindeer Keepsake, glue down the two wiggle eyes.
- Now you can stop here or add any other embellishments you see fit, to give it a creative spin.
- Then display your handprint reindeer pine cone paper piece proudly for ALL to see!!
- Don’t forget to snap a few pictures of your finished handprint pinecone reindeer keepsake on your phone and tag us on your social media sites! #gluedtomycrafts
RELATED —> Paper Plate Pinecone Wreath
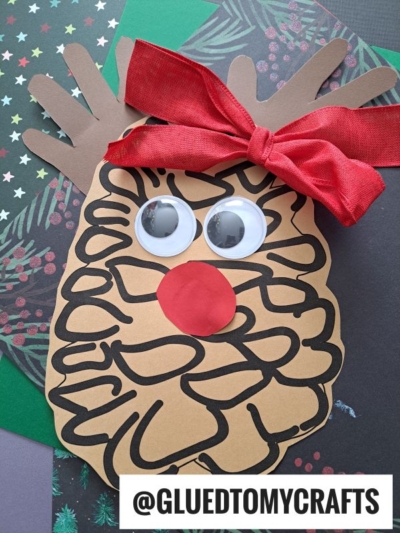
This simple yet delightful holiday project allows children of all ages to let their creativity shine by decorating each reindeer with glue, glitter, pipe cleaners or whatever they choose – making each one unique. So gather those supplies and let the holiday crafting commence!

Pinecone Reindeer Craft For Kids
These cute little creations are sure to bring joy and cheerful cheer wherever they go. Not only do they look great, but even better, they're easy for anyone to make!
Here’s your checklist of supplies to bring this craft to life:
- Cardstock Paper
- Pinecone Printable – Landing Page
- Embellishments
Prepare your creative haven by laying down a protective cover before the crafting magic begins!
Directions:
- First things first, grab the free "pinecone" file {listed above in the supply list} and print it out on light brown cardstock paper.
- Go ahead and trim out the pinecone shape from the paper.
- Discard excess paper when done cutting.
- Next grab a piece of dark brown cardstock paper and your pencil.
- Lay your child's little hands FLAT on the paper and trace around both of them.
- When done tracing, trim out the handprint designs from the paper. These two pieces will become the antlers.
- Finally - cut out a small oval nose shape from the red cardstock paper.
- Now you are ready to assemble it all together.
- Start off my gluing the two handprint antlers to the back of the pinecone shape.
- Follow up that step by gluing down the red nose to the front.
- To finish off your Paper Pine Reindeer Keepsake, glue down the two wiggle eyes.
- Now you can stop here or add any other embellishments you see fit, to give it a creative spin.
- Then display your handprint reindeer pine cone paper piece proudly for ALL to see!!


NEED HELP DOWNLOADING OUR FREE PRINTABLES? PLEASE REFER TO OUR FAQ PAGE
If you've enjoyed our content or have any thoughts to share, we'd love to hear from you! Mention @gluedtomycrafts or tag #gluedtomycrafts on Instagram!