

Are you looking for a creative activity that combines art, nature, and a healthy dose of mess? This paint splat owl face craft delivers all three while helping kids develop fine motor skills and artistic expression.
Perfect for rainy afternoons or classroom activities, this project transforms simple paint splatters into adorable owl faces that kids will be proud to display.
This craft requires minimal supplies, works for children ages 3 and up, and creates beautiful keepsakes that parents will actually want to keep. Let’s dive into everything you need to know to create these charming feathered friends.

CRAFT SUPPLIES YOU NEED:
Gathering the right materials makes this craft run smoothly and keeps cleanup manageable. Here’s your complete supply list:
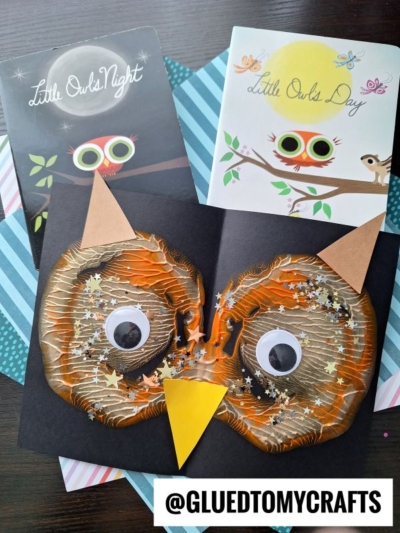
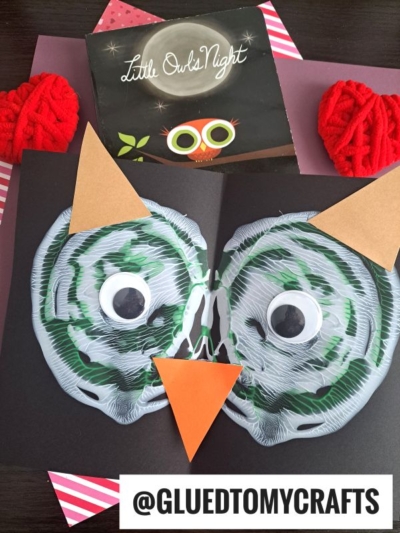
- To recreate this Paint Splat Owl Face tutorial, I used white, as well as orange cardstock, my trusty & favorite Tulip Puffy Paint in shades of red, yellow & brown, scissors, glue and some large wiggle eyes.
- The basic foundation of this craft, was taking the white cardstock paper and my three shades of Puffy Paint to make the “owl’s face” that really sets the scene. Although I trust and love the Tulip brand for this craft, you can also use regular craft paint for this DIY, as well. Just remember – regular craft paint will absorb differently on the paper and possibly faster, as well.
DIRECTIONS:
-
Prepare Your Workspace:
Choose a space that can handle some paint splatter. Outdoor areas are ideal, but an indoor craft table works too with proper protection. Lay down newspaper or plastic sheeting, extending at least two feet around your work area. -
Create the Owl’s Face:
- Fold your white cardstock in half, then open it back up.
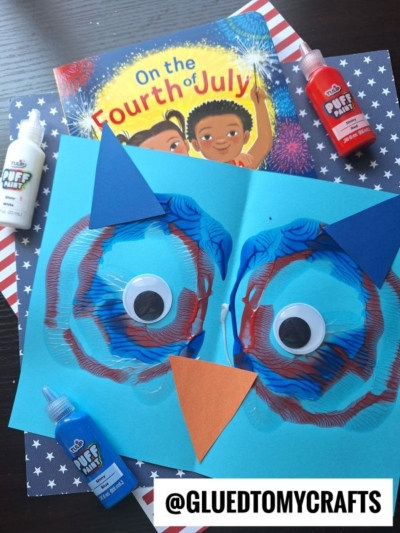
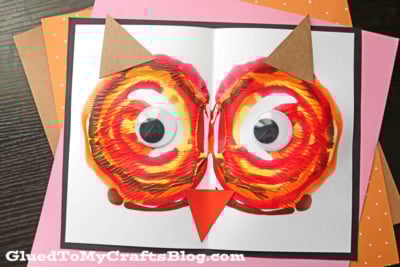
- On one side of the paper, squirt circles of red, yellow, and brown paint. (For this craft, sticking to a circular design is key!)
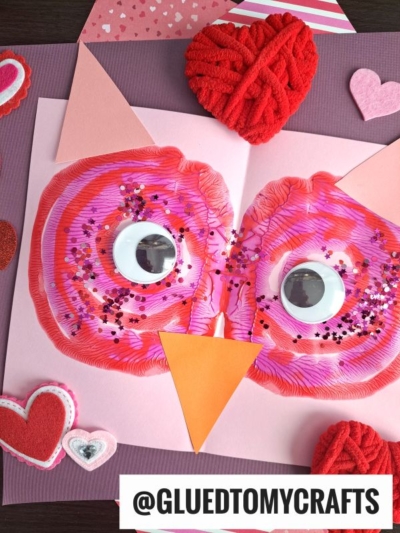
- Close the cardstock again and gently press down, using your hand to spread the paint around inside. This will create a fun, symmetrical “owl head” design.
- Be mindful of paint oozing out the edges, so work in a mess-friendly area!
-
The Big Reveal:
Open the cardstock to reveal the start of your owl’s face. Let it dry completely before moving on to the next step. -
Add the Details:
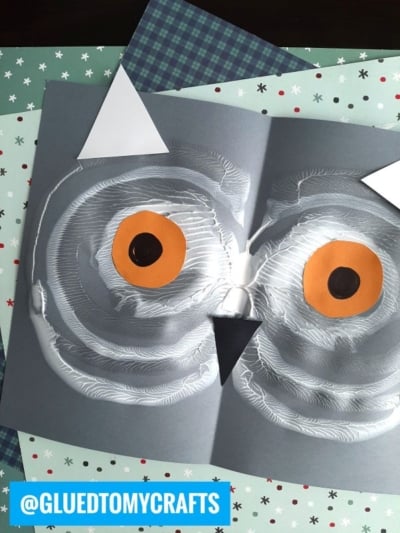
- Use orange cardstock to cut out two triangular shapes for the ears and one triangle for the nose.
- Glue the ears and nose onto your painted owl face.
- Finish by attaching the large wiggle eyes to bring your owl to life.
-
Display Your Masterpiece:
Once your owl is complete, set it aside to dry fully before proudly displaying it. The best part? No two paint splat owls will look the same, making each one a unique work of art! Repeat the process as many times as you like for endless creative fun!
RELATED —> Clothespin Fall Owl Puppets
Our first seen here “paint splat owl” craft offer the perfect blend of structured creativity and free-form expression that keeps kids engaged while developing important skills. The combination of manageable mess, beautiful results, and endless variation possibilities makes this project a winner for parents, teachers, and kids alike.
Gather your supplies, protect your workspace, and prepare for some delightful chaos. Your owl adventure awaits, and the memories you’ll create will last far longer than the paint on your hands!

Paint Splat Owl Face Craft Idea For Kids
Here’s your checklist of supplies to bring this craft to life:
- School Glue
Prepare your creative haven by laying down a protective cover before the crafting magic begins!
Directions:
- First things first - fold your white cardstock paper in half.Cardstock Paper
- Now open back up and squirt large CIRCLES of red/brown/yellow paint colors ON ONE SIDE before closing up the white cardstock again.Tulip Puffy Paint
- Once the paper is closed for the second time, gently take your hand and "caress" the paint around inside, so it makes a fun symmetrical "owl head" print design on both sides of the paper {keep in mind - paint might ooze from the sides of the cardstock, so be sure to work in an area that can get dirty!}
- Now you are ready to open it back up and see the BEGINNING of what your owl's face will be.
- Next up, grab your orange colored cardstock paper and your scissors.
- Cut out TWO triangular ears and a triangle nose.
- Glue those to your painted cardstock piece.
- Add on the large wiggle eyes.2 Wiggle Eyes
- Once finished with your custom owl masterpiece, set aside to let it dry completely, before displaying proudly!

CLICK HERE TO PRINT THE DIRECTIONS FOR THIS CRAFT