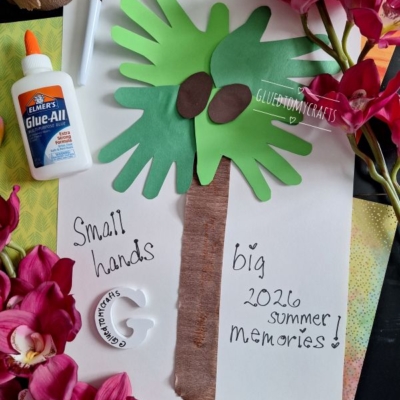
This Handprint Palm Tree Craft Idea is a fun and simple art project for kids, parents, and teachers. Children can trace their hands, practice cutting and gluing, and turn a few basic craft supplies into a cheerful tropical palm tree.
It’s great for summer themes, beach units, preschool crafts, classroom bulletin boards, or an easy afternoon activity at home. Let’s get crafting!
Craft Supplies:
- Light blue cardstock
- Green cardstock or construction paper
- Brown crepe paper
- Tan or light brown cardstock
- Pencil
- Scissors
- School glue or glue stick
Directions:
1. Prepare the Background
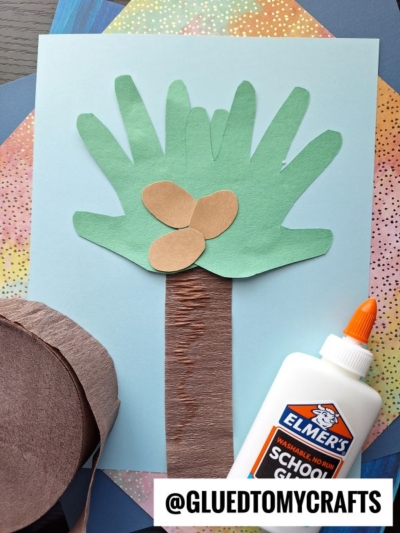
Place one sheet of light blue cardstock in front of you. This will be the sky background for your palm tree.
2. Trace and Cut Two Handprints
Have your child place one hand on green paper. Trace around the hand with a pencil, then cut it out.
Repeat this step so you have two green handprint cutouts.
3. Cut the Crepe Paper Trunk
Cut a strip of brown crepe paper for the tree trunk. Make it long enough to reach from the lower part of the blue cardstock up toward the middle.
The crepe paper gives the trunk a fun texture, almost like the bark of a real palm tree.
4. Glue Down the Trunk
Add glue to the back of the brown crepe paper strip. Place it near the center of the blue cardstock, starting close to the bottom edge.
Press gently so it sticks flat.
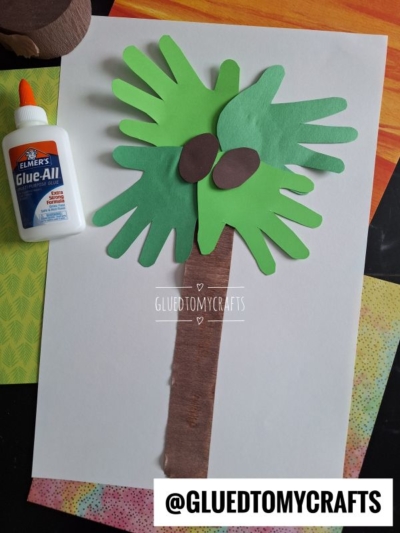
5. Add the Handprint Palm Fronds
Glue the first green handprint at the top of the trunk with the fingers pointing up and outward.
Glue the second handprint slightly overlapping the first one. Turn it a little to the side so the fingers spread out like palm leaves.
6. Cut and Glue the Coconuts
Cut three small oval shapes from tan or light brown cardstock. These will be the coconuts.
Glue the ovals where the trunk meets the green handprint leaves.
7. Let the Craft Dry
Set the palm tree craft aside until the glue is dry. This helps the crepe paper trunk, handprints, and coconuts stay in place.
Once dry, the craft should be ready to display, send home, or add to a classroom board.
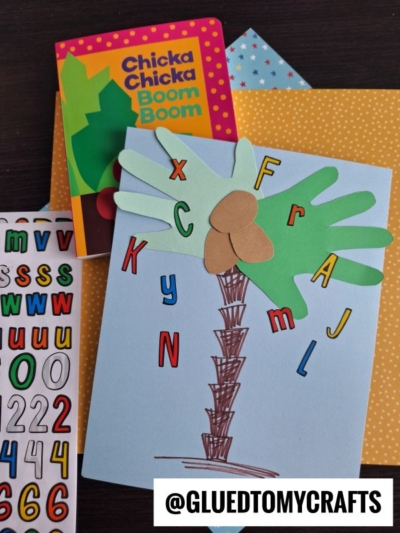
RELATED —> Paper & Thumbprint Palm Tree Craft
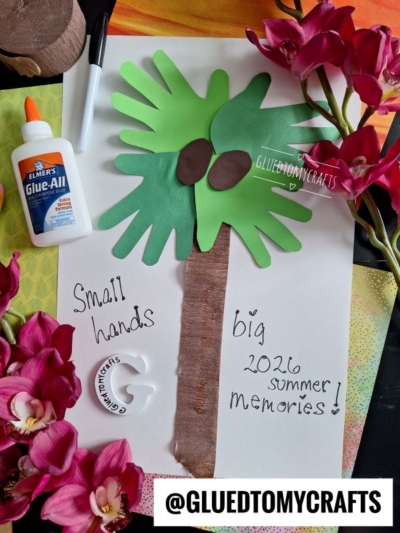
When finished, your child will have a bright and cheerful palm tree made from their own handprints. It’s simple, cute, and easy to adapt for different ages or learning themes.
This craft is a sweet way to combine creativity, fine motor practice, counting, and a little tropical fun. We hope you are inspired to recreate it today! Happy crafting, my friends!

Handprint Palm Tree Craft Idea For Summer
Here’s your checklist of supplies to bring this craft to life:
- Cardstock Paper
- Crepe Paper
- School Glue
Prepare your creative haven by laying down a protective cover before the crafting magic begins!
Directions:
- First things first - place one sheet of light blue cardstock in front of you. This will be the sky background for your palm tree.
- Next have your child place one hand on green paper. Trace around the hand with a pencil, then cut it out. Repeat this step so you have two designs.
- Cut a strip of brown crepe paper for the tree trunk. Make it long enough to reach from the lower part of the blue cardstock up toward the middle. The crepe paper gives the trunk a fun texture, almost like the bark of a real palm tree.
- Add glue to the back of the brown crepe paper strip. Place it near the center of the blue cardstock, starting close to the bottom edge.
- Press gently so it sticks flat.
- Glue the first green handprint at the top of the trunk with the fingers pointing up and outward.
- Glue the second handprint slightly overlapping the first one. Turn it a little to the side so the fingers spread out like palm leaves.
- Cut three small oval shapes from tan or light brown cardstock. These will be the coconuts.
- Glue the ovals where the trunk meets the green handprint leaves.
- Set the palm tree craft aside until the glue is dry. This helps the crepe paper trunk, handprints, and coconuts stay in place.
- Once dry, the craft should be ready to display, send home, or add to a classroom board.
CLICK HERE TO PRINT THE DIRECTIONS FOR THIS CRAFT