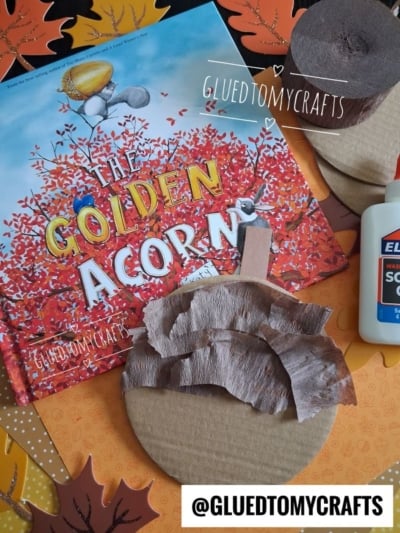
Leaves are turning, the air is getting crisp, and that means one thing – it’s the perfect time to gather the kids, spread out some supplies, and make a little seasonal fun together. This smiling acorn craft is one of our all-time favorites, and we think it’s about to become one of yours too.
It’s simple, it’s adorable, and it uses materials you probably already have tucked away in your craft bin. Best of all, it comes together with a friendly face that kids can’t help but grin at. Whether you’re a parent looking for a rainy-day activity or a teacher planning a cozy autumn lesson, this acorn buddy is ready to charm.
Craft Supplies:
Gather these supplies before you begin. Everything on this list is easy to find and budget-friendly:
- Brown cardboard circle – this forms the acorn’s face and body
- Brown crepe paper or streamers – for that textured, bumpy acorn cap
- Brown construction paper – for the little stem on top
- Elmer’s school glue – washable and easy for small hands
- Scissors – for cutting and trimming
That’s it! Now let’s turn these odds and ends into a happy little acorn.
Directions:
Step 1: Prep Your Cardboard Circle
Start with your brown cardboard circle. This is the base of your acorn. If you’re working with little ones, you can cut the circle ahead of time so they can jump straight into the fun part. Aim for a size that fits comfortably in small hands, roughly the size of a saucer.
Step 2: Tear the Crepe Paper
Tear your brown crepe paper into small pieces, about one to two inches each. Don’t worry about making them perfect. The uneven, torn edges are exactly what gives the acorn cap its natural, textured look. Kids love this step because tearing paper is oddly satisfying.
Step 3: Glue On the Acorn Cap
Spread a layer of glue across the top half of your cardboard circle. Then layer the torn crepe paper pieces over the glue, overlapping them as you go. Keep adding pieces until the top half is fully covered. This bumpy, layered section becomes the acorn’s signature cap.
Step 4: Add the Stem
Cut a small rectangle from your brown construction paper. Glue it to the top-center of the acorn, right behind the crepe paper cap, so it peeks out like a real acorn stem. A little rectangle is all you need here.
Step 5: Let It Dry
Set your acorn aside to dry completely. Once the glue sets, your little fall friend is ready to display, gift, or add to your seasonal decor.
RELATED —> Paper Plate & Coffee Filter Acorn Craft Idea
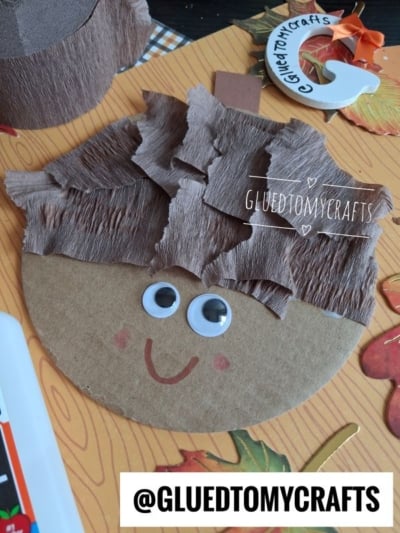
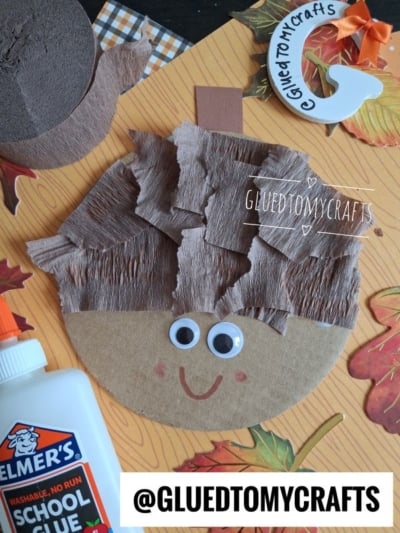
And there you have it, one happy little acorn ready to celebrate the season! We love this craft because it’s forgiving, flexible, and full of personality. No two acorns ever turn out the same, and that’s exactly what makes them so special.
Hang your finished acorns on a bulletin board, string them into a garland, or line them up on the windowsill to welcome fall. Whatever you choose, we hope this project fills your day with giggles, glue, and a whole lot of cozy autumn cheer. Happy crafting, my friends!
