Create adorable paint splat bunny crafts with this easy, step-by-step tutorial. Using cardstock, puffy paint, and a few craft supplies, you’ll make a whimsical bunny perfect for kids and families.
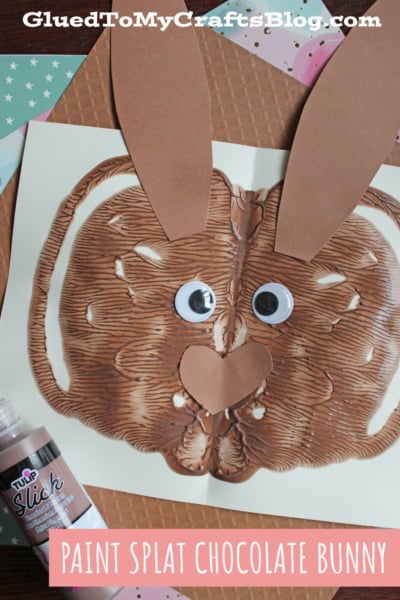
Get ready to create the sweetest craft without any of the calories! This Paint Splat Chocolate Bunny project is a wonderfully messy and fun activity perfect for a creative afternoon. Using just a few simple supplies, you can make an adorable bunny that looks like it’s been dipped in chocolate.
This is a fantastic project for crafters of all ages, especially for families looking to make some holiday memories together. On that note, let’s hop to it and get started!
Craft Supplies:
Gathering your materials is the first step to crafting success. Here’s what you’ll need to bring your chocolate bunny to life on paper:
- Cardstock paper {a light shade and brown}
- Brown craft paint (washable is a great choice for younger kids)
- School Glue
- Scissors
- Extra Large Wiggle Eyes {2 per craft}
Directions:
Step 1: Prepare Your Canvas
- Start by taking a sheet of light colored cardstock and folding it perfectly in half. Unfold it again so you have a nice crease down the middle. This crease will be your guide for creating a perfectly symmetrical chocolate bunny face.
Step 2: Add the Paint
- Now for the fun part! Grab your brown puffy paint. On one side of the center crease, squirt some paint. You don’t need to create a specific shape; just a few fun squiggles and blobs will do.
Step 3: Create the Splat
- Fold the blank half of the cardstock over onto the painted side, lining it up with the original crease. Once it’s closed, gently press and smooth your hand across the paper. This will “squish” the paint inside, creating a unique and symmetrical design. Remember to work on a protected surface, as a little paint might ooze out the sides!
Step 4: The Big Reveal
- Carefully open the cardstock to reveal your paint splat design. You’ve just created the base for your bunny’s head! Each one will have its own special pattern, which is part of the fun.
Step 5: Prepare Your Decorations
- While the paint begins to dry, it’s time to get the bunny’s features ready. Go ahead and cut out two ears and a nose from your remaining sheet of brown cardstock paper.
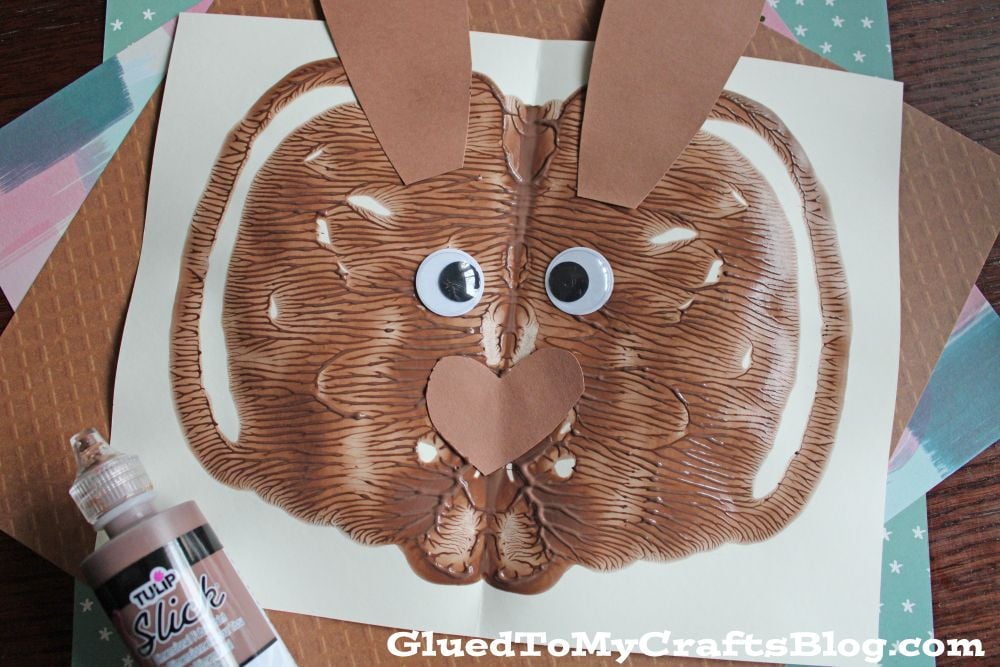
Step 6: Bring Your Bunny to Life
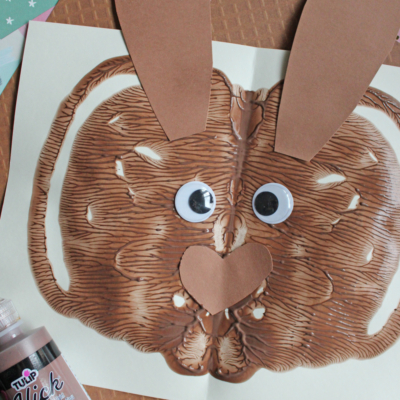
- Now it’s time to assemble your creation! The final step is to glue the cutouts and googly eyes onto your paint splat design. A great tip is to start by gluing the nose right in the center and then adding the ears and eyes around it. This helps with placement and gives your bunny a balanced look.
Step 7: Dry and Display
- After you’ve assembled your custom paint splatter chocolate bunny, set it aside to let the paint and glue dry completely. Once it’s ready, find the perfect spot to display your masterpiece proudly!
- Feel free to repeat the process as many times as you want. Since no two paint splats are ever the same, you can create a whole family of unique bunnies!
RELATED —> Torn Paper Some Bunny Loves You Craft
Let your creativity run wild, and don’t forget to share your bunnies with friends and family! Whether you hang them on the wall, use them for holiday cards, or simply brighten up your space, each bunny is a joyful reminder of the fun you had making it. Happy crafting, my friends!

Paint Splat Chocolate Bunny Craft Idea
Create adorable paint splat bunny crafts with this easy, step-by-step tutorial. Using cardstock, puffy paint, and a few craft supplies, you’ll make a whimsical bunny perfect for kids and families.
Here’s your checklist of supplies to bring this craft to life:
- Tulip Puffy Paint brown
- Cardstock Paper tan and brown
- 2 Wiggle Eyes
Prepare your creative haven by laying down a protective cover before the crafting magic begins!
Directions:
- Start by taking a sheet of light colored cardstock and folding it perfectly in half. Unfold it again so you have a nice crease down the middle. This crease will be your guide for creating a perfectly symmetrical chocolate bunny face.
- Now for the fun part! Grab your brown puffy paint. On one side of the center crease, squirt some paint. You don’t need to create a specific shape; just a few fun squiggles and blobs will do.
- Fold the blank half of the cardstock over onto the painted side, lining it up with the original crease. Once it’s closed, gently press and smooth your hand across the paper. This will "squish" the paint inside, creating a unique and symmetrical design. Remember to work on a protected surface, as a little paint might ooze out the sides!
- Carefully open the cardstock to reveal your paint splat design. You've just created the base for your bunny's head! Each one will have its own special pattern, which is part of the fun.
- While the paint begins to dry, it's time to get the bunny's features ready. Go ahead and cut out two ears and a nose from your remaining sheet of brown cardstock paper.
- Now it's time to assemble your creation! The final step is to glue the cutouts and googly eyes onto your paint splat design. A great tip is to start by gluing the nose right in the center and then adding the ears and eyes around it. This helps with placement and gives your bunny a balanced look.
- After you've assembled your custom paint splatter chocolate bunny, set it aside to let the paint and glue dry completely. Once it’s ready, find the perfect spot to display your masterpiece proudly!
- Feel free to repeat the process as many times as you want. Since no two paint splats are ever the same, you can create a whole family of unique bunnies!


Grab our favorite books via our Amazon affiliate link! In our Amazon storefront you will find books, toys and craft supplies we absolutely love using for our Glued To My Crafts tutorials!
If you've enjoyed our content or have any thoughts to share, we'd love to hear from you! Mention @gluedtomycrafts or tag #gluedtomycrafts on Instagram!