If you’re looking for a simple yet delightful way to harness your child’s creativity while adding a vibrant touch to your garden, look no further than painted rocks.
This timeless craft offers a fantastic canvas for little artists, providing endless possibilities for colorful designs that can brighten up any outdoor space.
So on that note, get creative with your garden this summer and add some bright and colorful elements like these painted rock ideas! It’s an easy and fun way to add a bit of personality to your outdoor space! Check out our examples below. Happy crafting, my friends!

Turn flat rocks into fish by adding googly eyes and paper fins!

This idea is BERRY sweet – simply use green, black and red paint to make strawberries

Use pink and green paint for these watermelon rocks

Probably the easiest of them all are these ghost rocks – simply paint them white and add black dots for the mouth & eyes

For some spooky fun turn your rocks into jack-o-lanterns!

Here’s a throwback picture of when my son and I made a giant {long} caterpillar in our rock garden

For winter, create snowmen for your front yard – just paint them white and use markers to draw on the faces
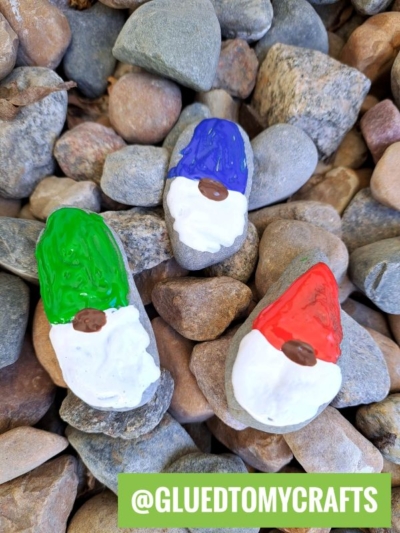
For spring you can make GNOMES using puffy paint
![]()
Happy painting, my friends! Whether you’re creating colorful fish, spooky ghosts, or cheerful gnomes, these painted rock ideas are sure to bring a splash of creativity to your garden or home.
Don’t forget to share your masterpieces with us! Tag your creations on Facebook or Instagram using #gluedtomycrafts. Let your imagination run wild and make every rock uniquely yours!
